How to Downgrade Windows 11 to Windows 10 (and Should You?)
How to downgrade Windows 11 to Windows 10: Go back within 10 days and keep your files, or clean install after that. Plus why to think twice in 2026.
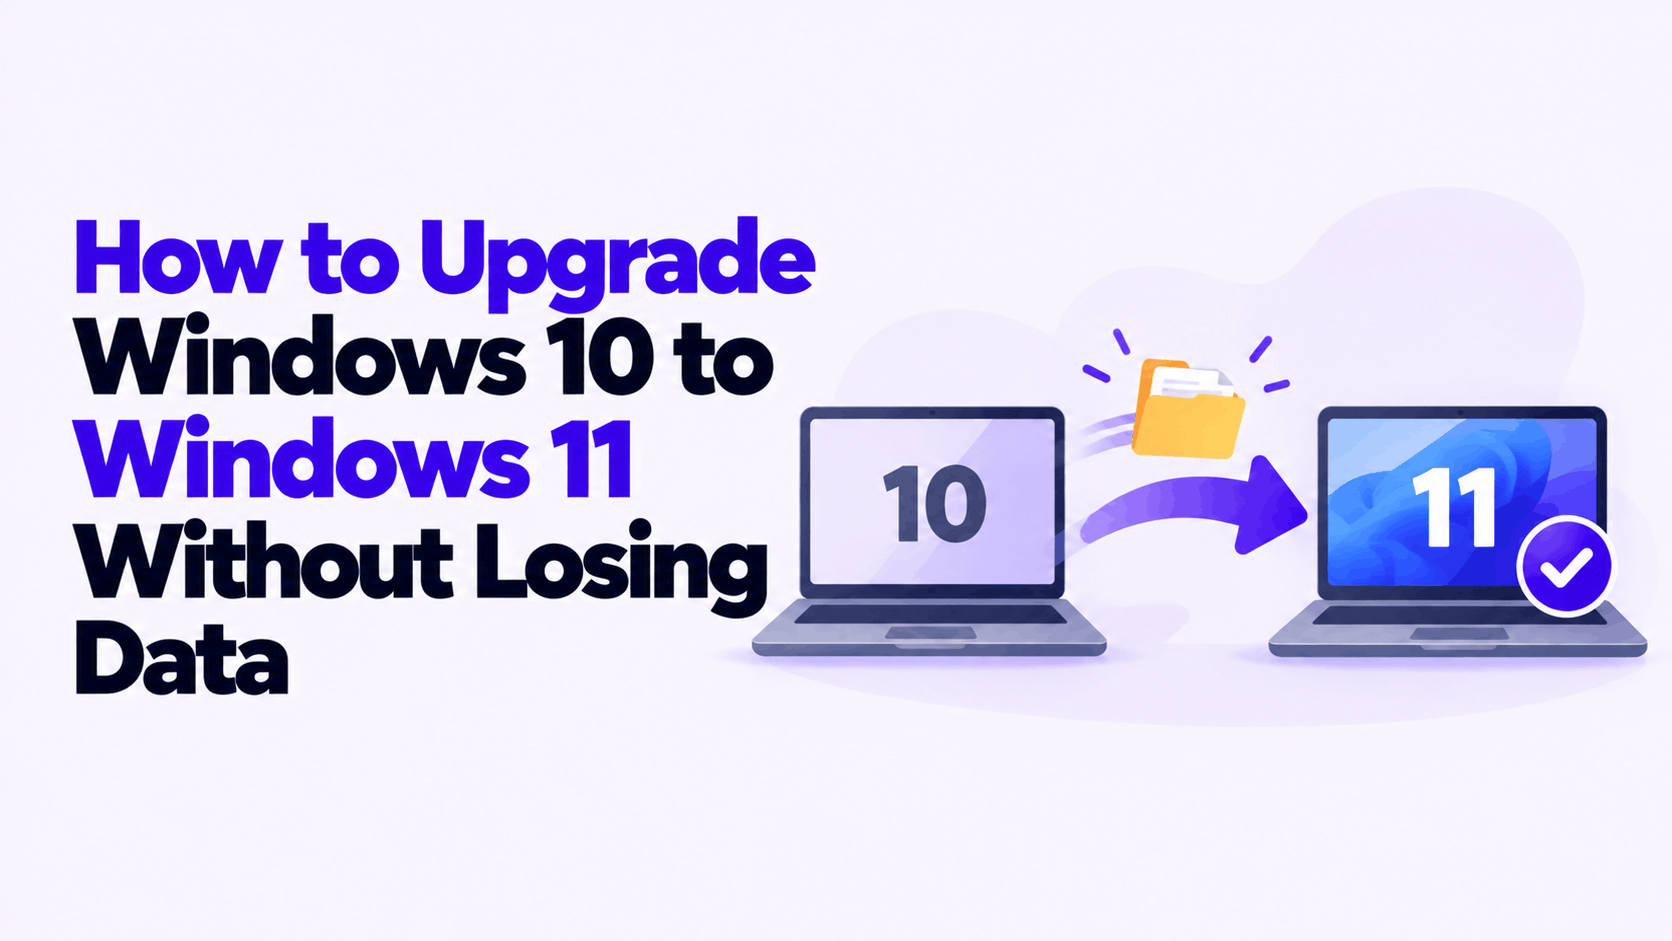
Short answer: To upgrade Windows 10 to Windows 11 without losing data, open Settings > Update & Security > Windows Update, select Check for updates, and when the Windows 11 offer appears select Download and install. If there is no offer and the PC meets the requirements, run Microsoft’s Windows 11 Installation Assistant instead. Both keep your files, apps and settings, and both are free on an activated copy of Windows 10. The edition carries over: Home becomes Home, Pro becomes Pro.
Applies to: Windows 10 Home and Pro, version 2004 or later, on a PC that meets the Windows 11 requirements. Windows 10 reached end of support on October 14, 2025, so this upgrade is how the PC gets security updates again.
Table of Contents
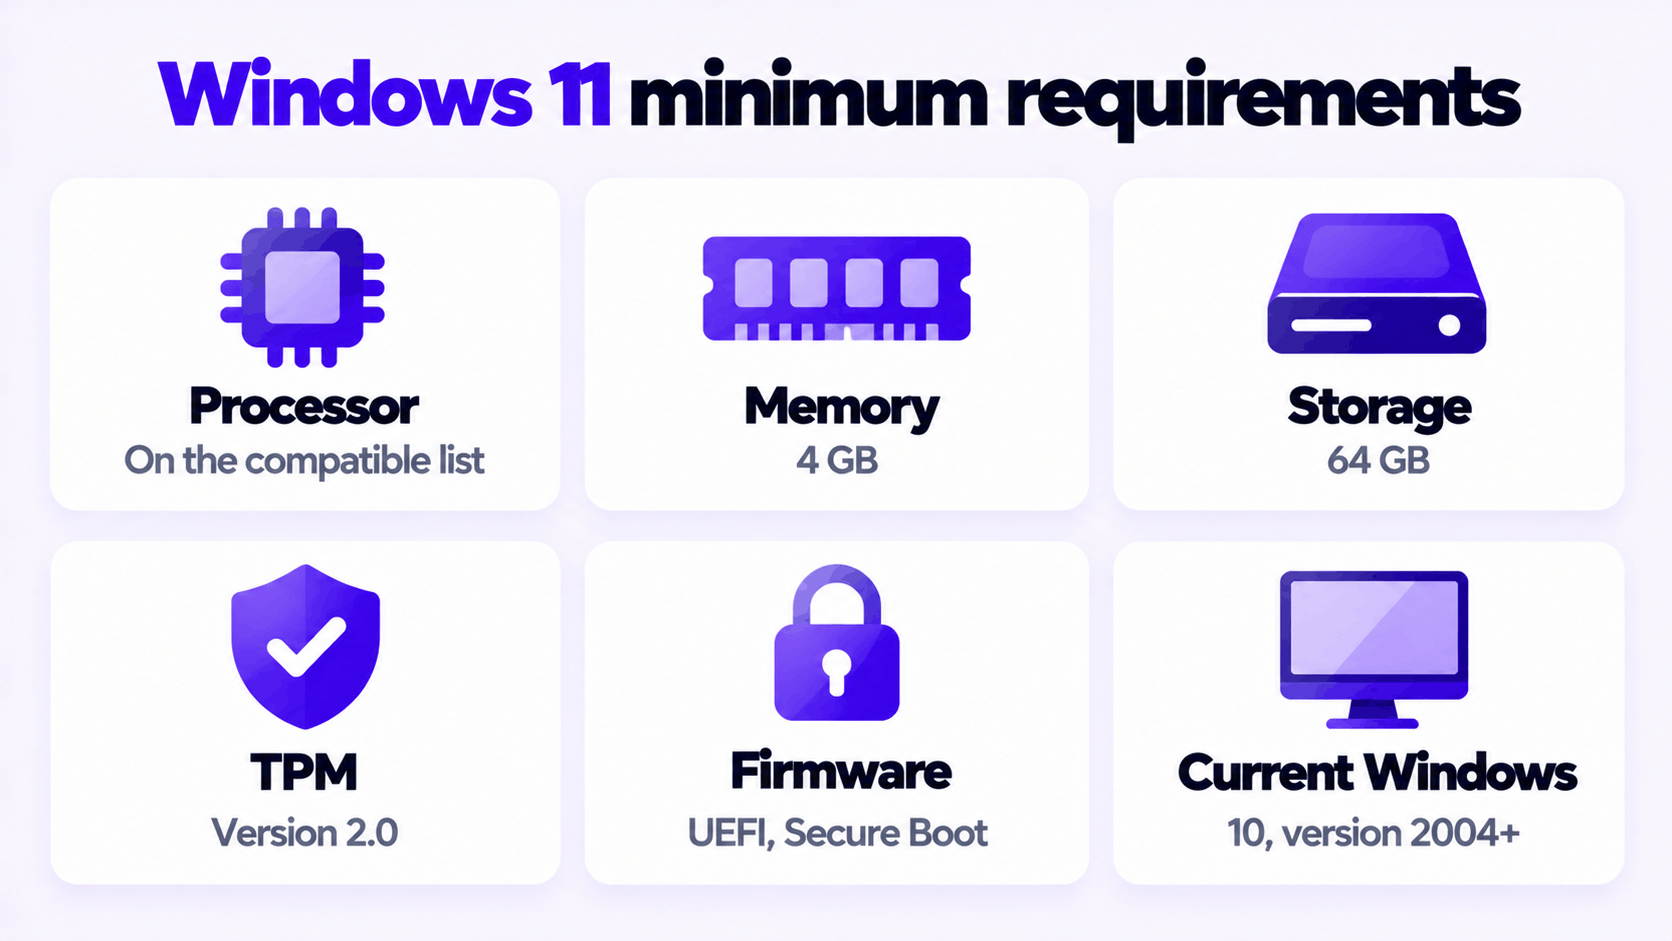
These are Microsoft’s minimum requirements for Windows 11.
| Component | Minimum |
|---|---|
| Processor | 1 GHz or faster, 2 or more cores, on Microsoft’s list of compatible 64-bit processors |
| Memory | 4 GB |
| Storage | 64 GB or larger drive |
| Firmware | UEFI, Secure Boot capable |
| TPM | Trusted Platform Module version 2.0 |
| Graphics | DirectX 12 compatible with a WDDM 2.0 driver |
| Current Windows | Windows 10, version 2004 or later |
The processor list is the part that rules out most older PCs. As a rough guide, it starts at Intel 8th generation and AMD Ryzen 2000 series.
You do not have to check these by hand. Install Microsoft’s free PC Health Check app and select Check now. It reports which requirements pass and which fail.
If the only failure is TPM or Secure Boot, the PC may still qualify. Many PCs built since 2016 have a TPM that is switched off in the firmware settings. Restart into the UEFI/BIOS setup, look for a setting named TPM, Intel PTT or AMD fTPM, turn it on, and run the check again.
If the processor fails, the PC is not supported. Microsoft says installing Windows 11 on a PC that does not meet the requirements is not recommended, may cause compatibility issues, and that such a PC is not entitled to receive updates.
This is the route Microsoft recommends, because Windows Update only offers the upgrade when it has checked the PC is ready for it.
No offer on a PC that passes PC Health Check? Use Method 2.
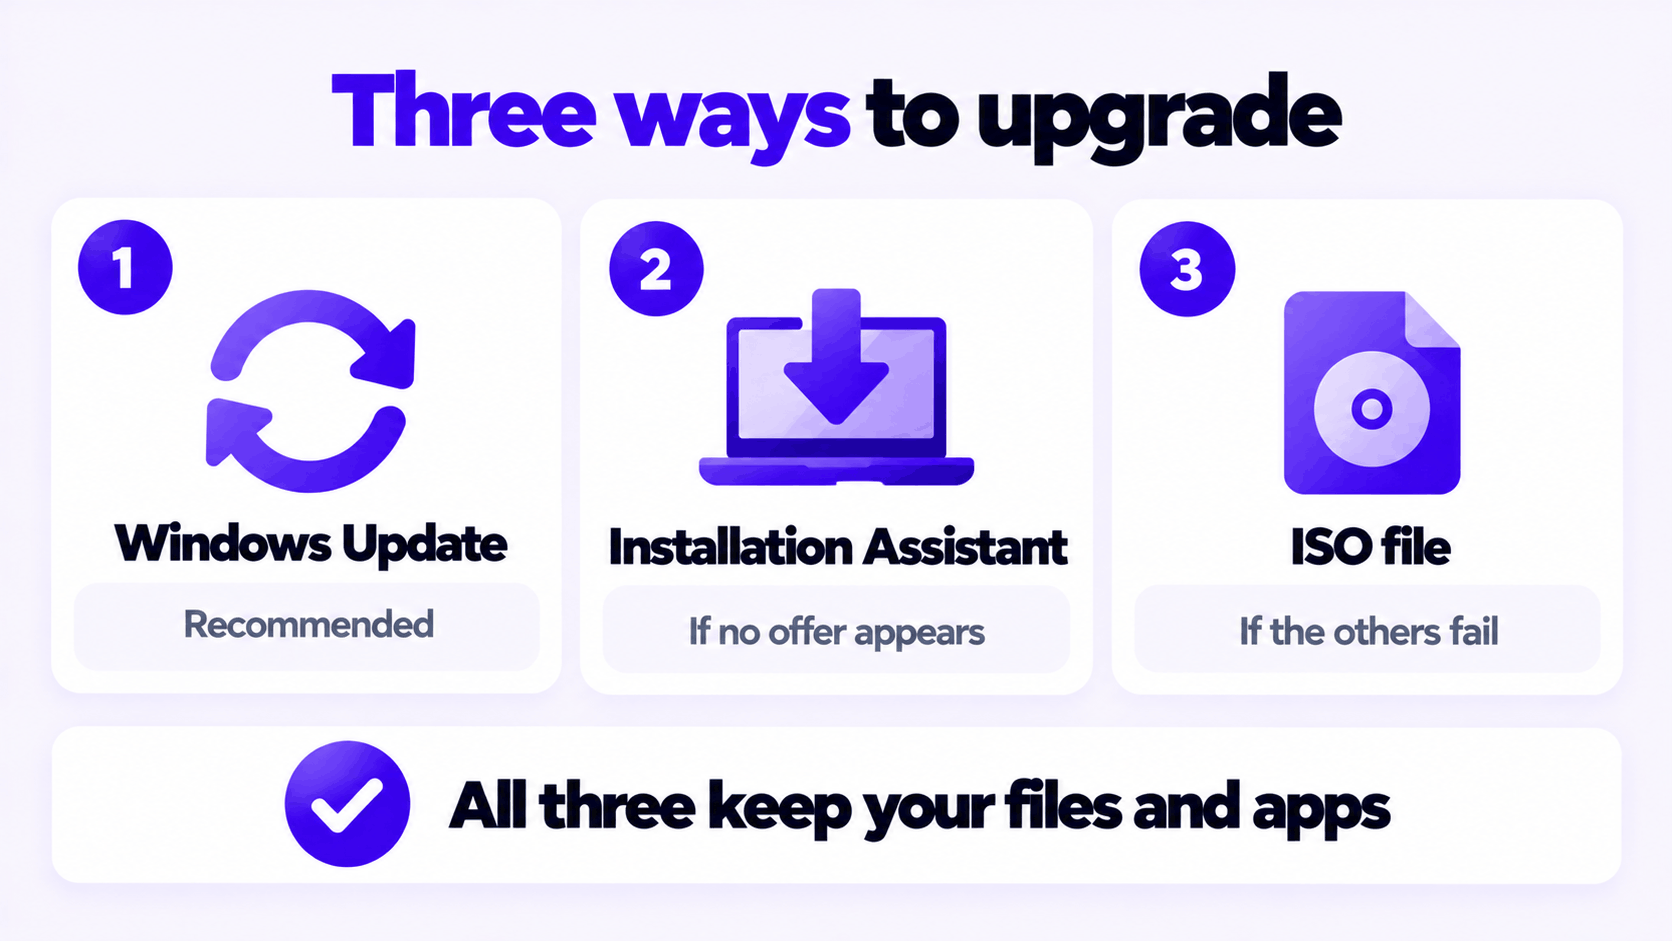
Microsoft describes the Installation Assistant as the best option for installing Windows 11 on the device you are currently using. It needs Windows 10 version 2004 or later, a Windows 10 license, and 9 GB of free disk space. It does not run on Arm-based PCs.
Only download it from microsoft.com. Sites that offer a “Windows 11 upgrade tool” from anywhere else are not Microsoft.
Use this when the first two methods fail, or to upgrade several PCs without downloading Windows each time.
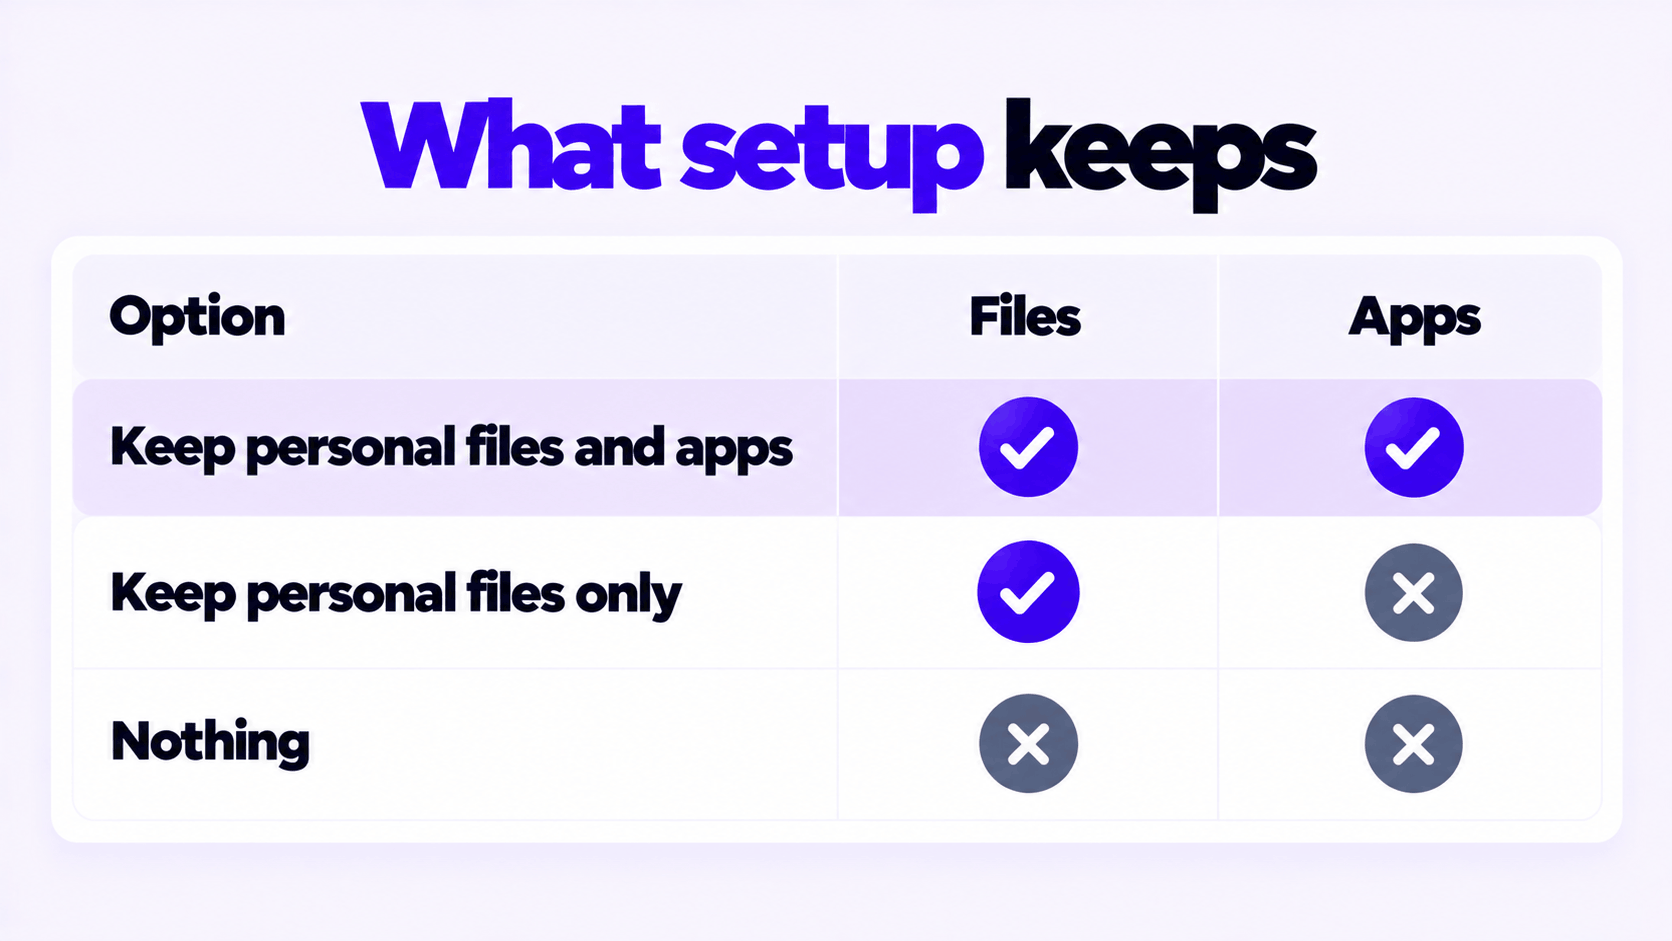
Step 4 is the one that protects your data. Read the choice on screen before you continue:
| Option | Files | Apps and settings |
|---|---|---|
| Keep personal files and apps | Kept | Kept |
| Keep personal files only | Kept | Removed |
| Nothing | Removed | Removed |
Starting the PC from a USB drive is a different thing: that is a clean installation and it erases the drive. To keep your data, always run setup from inside Windows 10.
The steps for both are in how to activate Windows 11 Pro with an OEM product key. For the edition differences, see Windows 11 Home vs Pro.
| Problem | Likely cause | What to do |
|---|---|---|
| “This PC doesn’t currently meet Windows 11 system requirements” | TPM or Secure Boot is off, or the processor is not on the list | Run PC Health Check to see which. Turn on TPM and Secure Boot in the firmware settings if the PC has them. |
| No Windows 11 offer in Windows Update | The offer has not reached this PC, or a known compatibility hold applies | Use the Installation Assistant |
| The download stalls or fails | Not enough free space, or an unstable connection | Free up space on drive C: and use a wired connection |
| Setup rolls back to Windows 10 | An incompatible driver or security program | Update graphics and storage drivers, uninstall third-party antivirus for the upgrade, unplug extra devices, and try again |
| Windows 11 is not activated afterward | Windows 10 was not activated, or the edition changed | Enter a key for the installed edition |
If you cannot upgrade Windows 10 to Windows 11 on this PC at all, it stays on an operating system without security updates. The realistic options then are a newer PC or a supported Linux desktop.
Stuck on a step?
Send us the step and the exact error message. Our support team answers every day, 8 am to 9 pm New York time.
Every day, 8 am to 9 pm New York timeHow to downgrade Windows 11 to Windows 10: Go back within 10 days and keep your files, or clean install after that. Plus why to think twice in 2026.
How to install Windows 11 without a Microsoft account in 2026: the Pro option that still works, switching to a local account, and what was removed.
How to create a Windows 11 bootable USB with Microsoft’s Media Creation Tool or from an ISO with Rufus, then start a PC from it. Free, step by step.