
By Egodget Tech Team
•
Updated: October 2026
How to Set Up Hyper-V on Windows 10 Pro
Short answer: To set up Hyper-V on Windows 10 Pro, open PowerShell as administrator and run Enable-WindowsOptionalFeature -Online -FeatureName Microsoft-Hyper-V -All, then restart. Or tick Hyper-V under Turn Windows features on or off. After the restart, open Hyper-V Manager, select New > Virtual Machine, and point the wizard at an ISO file. The PC needs a 64-bit processor with SLAT, virtualization switched on in the firmware, and at least 4 GB of memory.
Applies to: Windows 10 Pro and Enterprise. The steps are the same on Windows 11 Pro. Hyper-V cannot be installed on Windows Home. Windows 10 reached end of support on October 14, 2025.
Table of Contents
Check the requirements
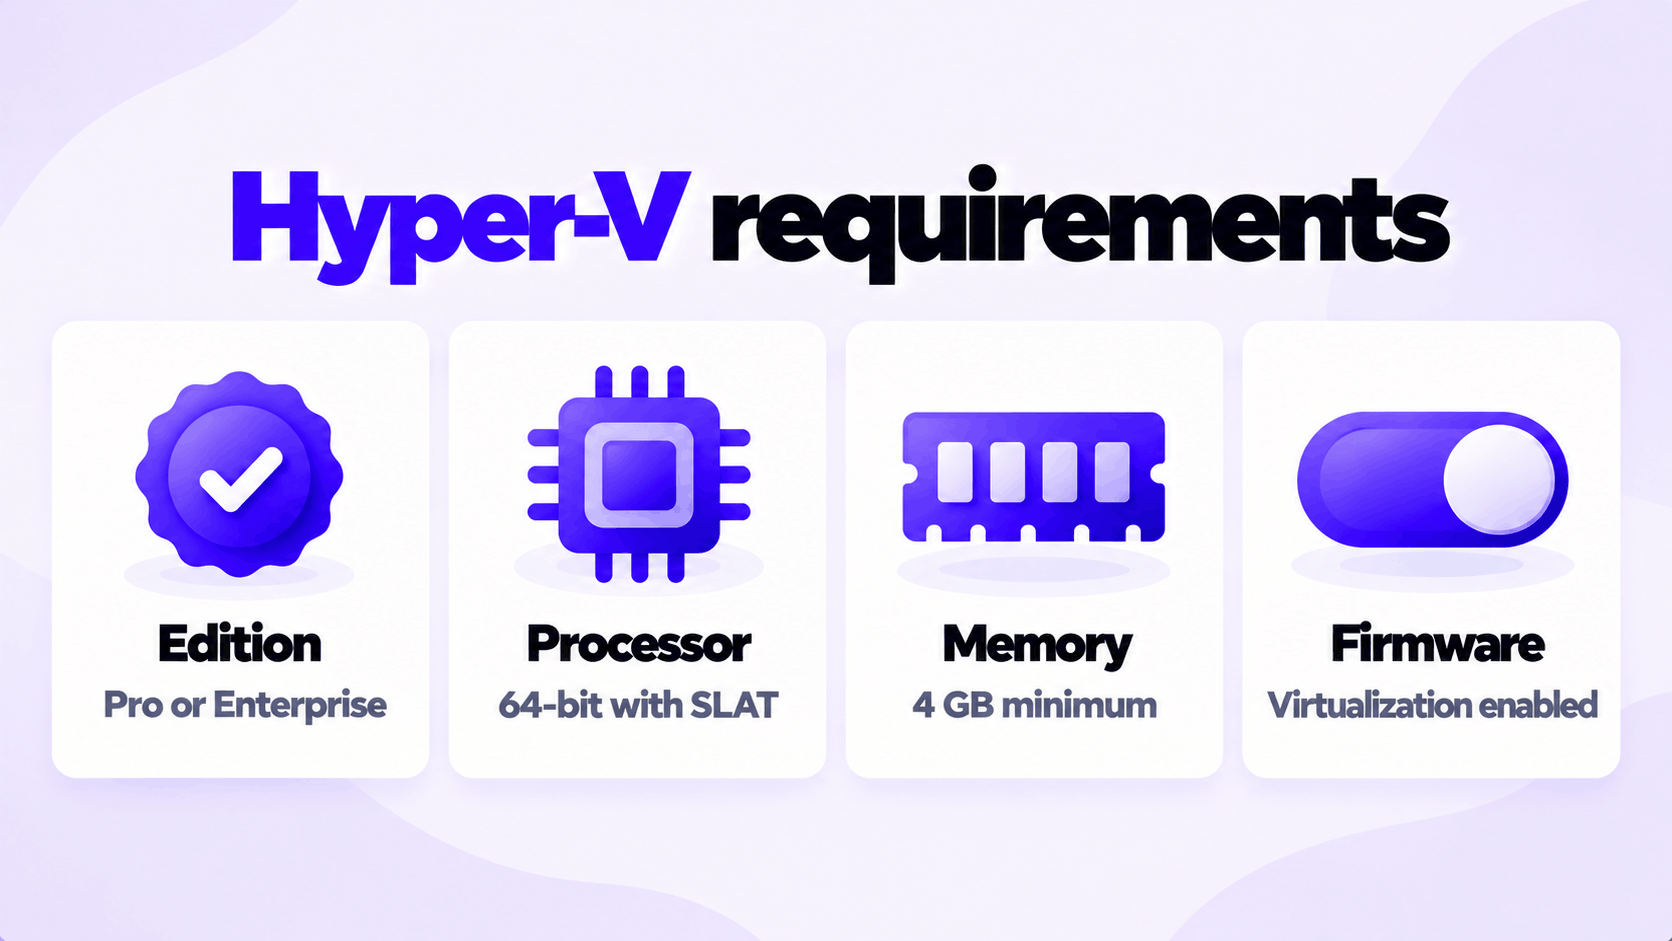
These are Microsoft’s requirements for Hyper-V on Windows 10 and Windows 11.
| Requirement | Detail |
|---|---|
| Edition | Pro or Enterprise. Microsoft states that Hyper-V can’t be installed on Windows 10 Home or Windows 11 Home. |
| Processor | 64-bit, with Second Level Address Translation (SLAT) and VM Monitor Mode Extensions |
| Memory | 4 GB minimum |
| Firmware setting | Hardware virtualization enabled |
Almost every processor from the last ten years meets the processor line. To confirm all four at once, open Command Prompt and run:
systeminfoScroll to the end of the output and read the Hyper-V Requirements section:
Hyper-V Requirements:      VM Monitor Mode Extensions: Yes
                           Virtualization Enabled In Firmware: Yes
                           Second Level Address Translation: Yes
                           Data Execution Prevention Available: Yes
Four lines reading Yes mean the PC is ready. If Virtualization Enabled In Firmware says No, go to the next section. If the section instead says a hypervisor has been detected, Hyper-V or a related feature is already on.
About memory: 4 GB is the minimum for Hyper-V to install, not a comfortable amount. The host and each running virtual machine share the PC’s memory. Plan on 16 GB if you want to run a modern Windows or Linux desktop as a guest while still using the host normally.
If the PC has Windows 10 Home, upgrade the edition first: see how to upgrade Windows 10 Home to Pro.
Turn on virtualization in the firmware
- Open Settings > Update & Security > Recovery and under Advanced startup select Restart now.
- Select Troubleshoot > Advanced options > UEFI Firmware Settings > Restart.
- Find the virtualization setting, usually under Advanced, CPU Configuration or Security. It is named Intel Virtualization Technology or VT-x on Intel systems and SVM Mode on AMD systems.
- Set it to Enabled, save, and exit.
To confirm in Windows, open Task Manager with Ctrl + Shift + Esc, select Performance > CPU, and check that Virtualization reads Enabled.
How to set up Hyper-V on Windows 10 Pro
Microsoft documents three ways. All give the same result.
Option 1: PowerShell
- Select Start, type
PowerShell, right-click Windows PowerShell, and select Run as administrator. - Run:
Enable-WindowsOptionalFeature -Online -FeatureName Microsoft-Hyper-V -All- Type
Yand press Enter to restart.
Option 2: DISM
In the same administrator window, run this, wait for “The operation completed successfully”, and restart the PC yourself:
DISM /Online /Enable-Feature /All /FeatureName:Microsoft-Hyper-VOption 3: Windows Features
- Select Start, type
Turn Windows features on or off, and open it. - Tick Hyper-V. Expand it and make sure both Hyper-V Management Tools and Hyper-V Platform are ticked.
- Select OK, then Restart now.
If Hyper-V Platform is greyed out, virtualization is still off in the firmware.
After the restart, select Start, type Hyper-V Manager, and open it. Your PC’s name appears in the left pane. That confirms Hyper-V is installed.
Create your first virtual machine
You need an installation image (ISO file) for the operating system you want to run. Download it from the publisher: Microsoft for Windows, or the distribution’s own site for Linux.
- In Hyper-V Manager, select your PC in the left pane.
- In the Actions pane on the right, select New > Virtual Machine.
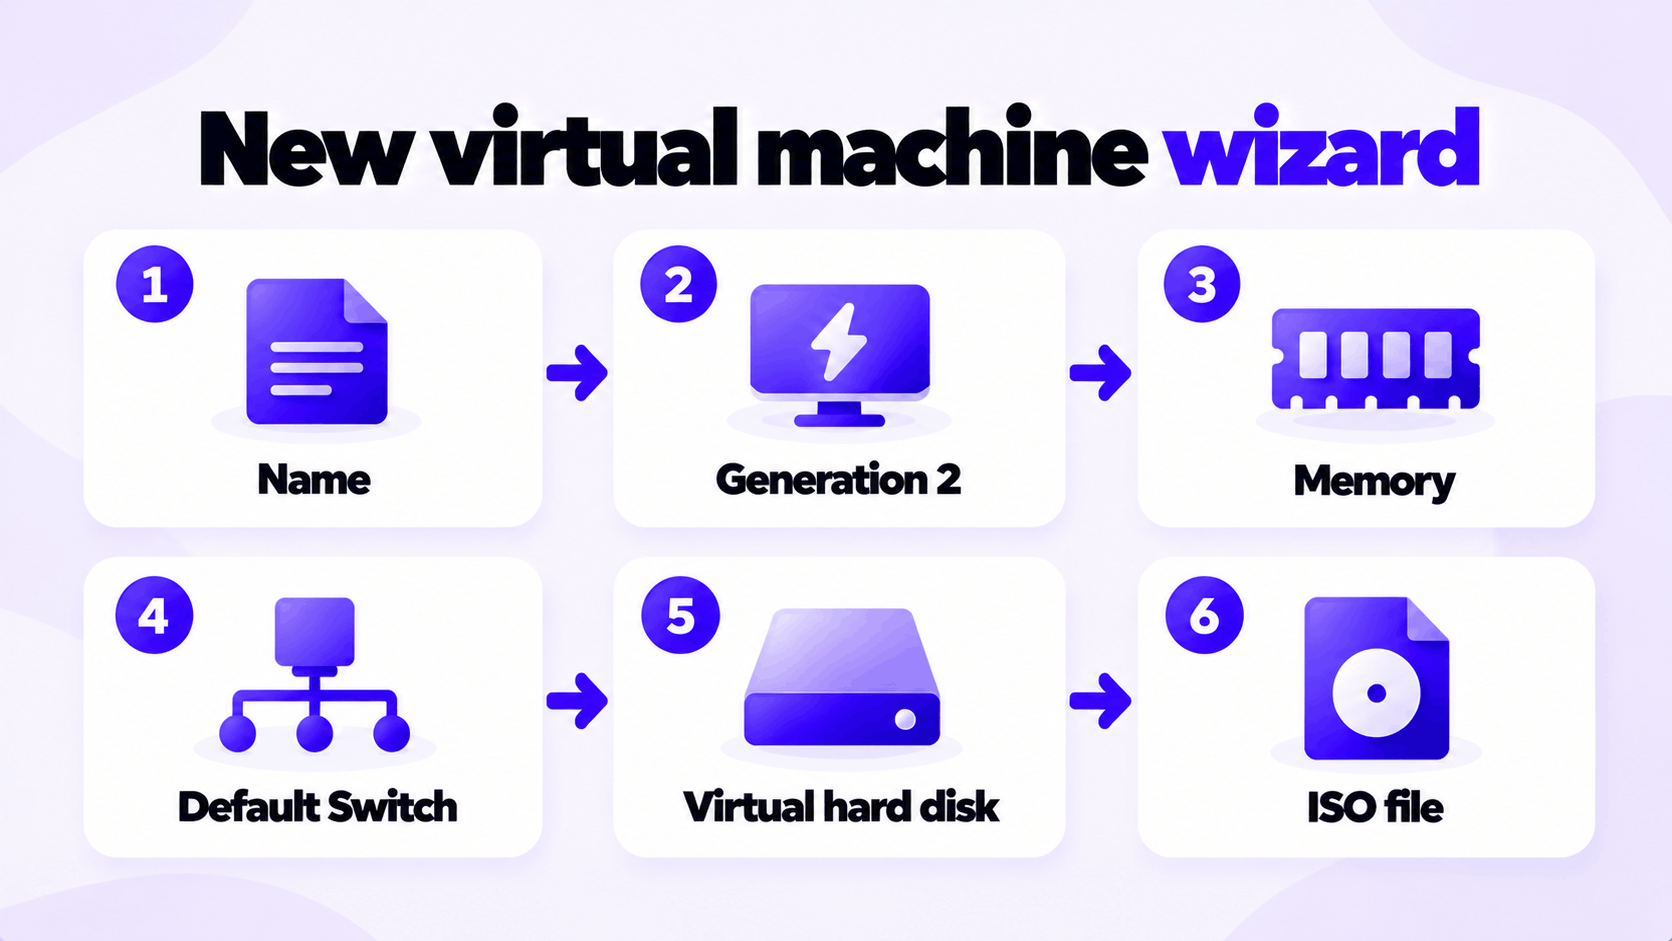
- Name and location: give it a name you will recognize.
- Generation: choose Generation 2 for 64-bit Windows 10, Windows 11 and current Linux. Choose Generation 1 only for older or 32-bit systems. This cannot be changed later.
- Memory: enter 4096 MB for a Windows guest or 2048 MB for a light Linux one, and leave Use Dynamic Memory ticked.
- Networking: choose Default Switch. It gives the virtual machine internet access through the host with no further setup.
- Virtual hard disk: keep Create a virtual hard disk. The size shown is a maximum; the file grows only as the guest uses space.
- Installation options: choose Install an operating system from a bootable image file and browse to your ISO.
- Select Finish.
Install the operating system
- Right-click the new virtual machine and select Connect.
- In the window that opens, select Start.
- If it shows “Press any key to boot from CD or DVD”, click inside the window and press a key straight away.
- Go through the operating system’s installer as you would on a real PC.
For a Windows 11 guest, turn on the virtual TPM before the first start: right-click the virtual machine, select Settings > Security, and tick Enable Trusted Platform Module. Give it at least 4 GB of memory and 2 virtual processors under Processor.
For a Linux guest on Generation 2, if it will not start from the ISO, open Settings > Security and change the Secure Boot template to Microsoft UEFI Certificate Authority.
Licensing: a virtual machine is a separate computer as far as Windows licensing is concerned. A Windows guest needs its own license; the host’s key does not cover it. Linux guests need none.
Checkpoints and everyday use
| Task | How |
|---|---|
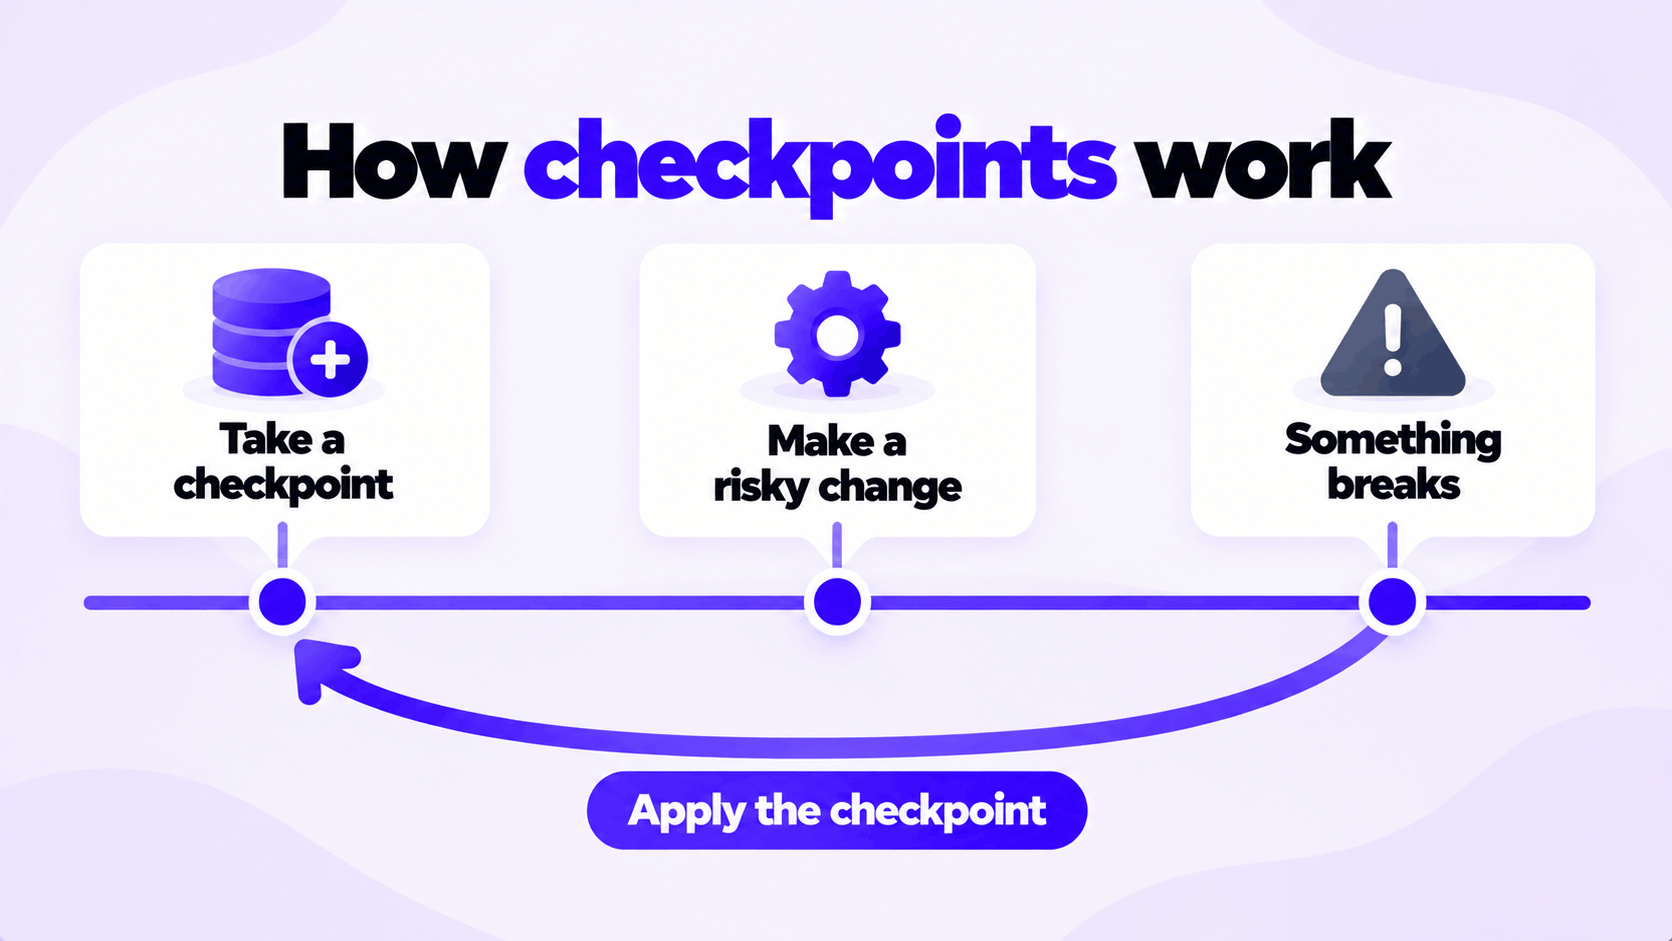
| Save a restore point before a risky change | Right-click the virtual machine > Checkpoint |
| Go back to a checkpoint | In the Checkpoints pane, right-click it > Apply |
| Shut the guest down properly | Right-click > Shut Down. Turn Off is the same as pulling the plug. |
| Give it more memory or processors | Shut it down, then right-click > Settings |
| Copy and paste between host and a Windows guest | In the connection window, View > Enhanced session |
| Free the disk space | Right-click > Delete, then delete its .vhdx file from the folder you chose |
Checkpoints are for testing, not for backup. Each one makes the virtual machine’s disk files larger, and a long chain of them slows it down. Delete the ones you no longer need.
If something goes wrong
| Problem | Likely cause | What to do |
|---|---|---|
| Hyper-V is not in the Windows Features list | Windows 10 Home | Upgrade to Pro |
| Hyper-V Platform is greyed out | Virtualization is off in the firmware, or the processor lacks SLAT | Enable it in the firmware settings and check systeminfo |
| The virtual machine will not start: not enough memory | The host has too little free memory | Close programs, or lower the guest’s startup memory in Settings |
| The guest has no internet | It is not connected to a switch | Settings > Network Adapter > Default Switch |
| The guest does not start from the ISO | Key not pressed in time, or Secure Boot template | Restart the guest and press a key at once. For Linux, change the template. |
| Another virtualization program stopped working | Older versions of VirtualBox and VMware conflict with Hyper-V | Update that program to a current version, which can run alongside Hyper-V |
Related: Windows 11 Home vs Pro lists the other features Pro adds. The keys we sell for Pro: Windows 10 Pro and Windows 11 Pro.
Need Windows 10 Pro for Hyper-V?
Hyper-V cannot be installed on Home. One key for one PC.
Email Delivery in 1 to 12 Hours • 90-Day Money-Back Guarantee