
By Egodget Tech Team
•
Updated: October 2026
How to Install Windows 11 Without TPM 2.0: Options and Risks
Short answer: You can install Windows 11 without TPM 2.0, but check first whether you need to. Most PCs made since about 2016 have a TPM 2.0 that is simply switched off in the firmware settings, and turning it on makes the PC fully supported. If the PC really has none, two methods skip the check during a clean installation: a setup USB made with Rufus, or a registry key added during Windows Setup. Microsoft does not recommend either, and says a PC installed this way is not entitled to receive updates.
Applies to: Windows 11 on PCs that fail the TPM 2.0 or Secure Boot check. Windows 10 reached end of support on October 14, 2025.
Table of Contents
Before you install Windows 11 without TPM 2.0: check if you have one
The “This PC can’t run Windows 11” message does not always mean the hardware is missing. Often the TPM exists and is disabled. Check in Windows 10:
- Press Windows + R, type
tpm.mscand press Enter. - Read what the window says.
| What tpm.msc shows | Meaning | What to do |
|---|---|---|
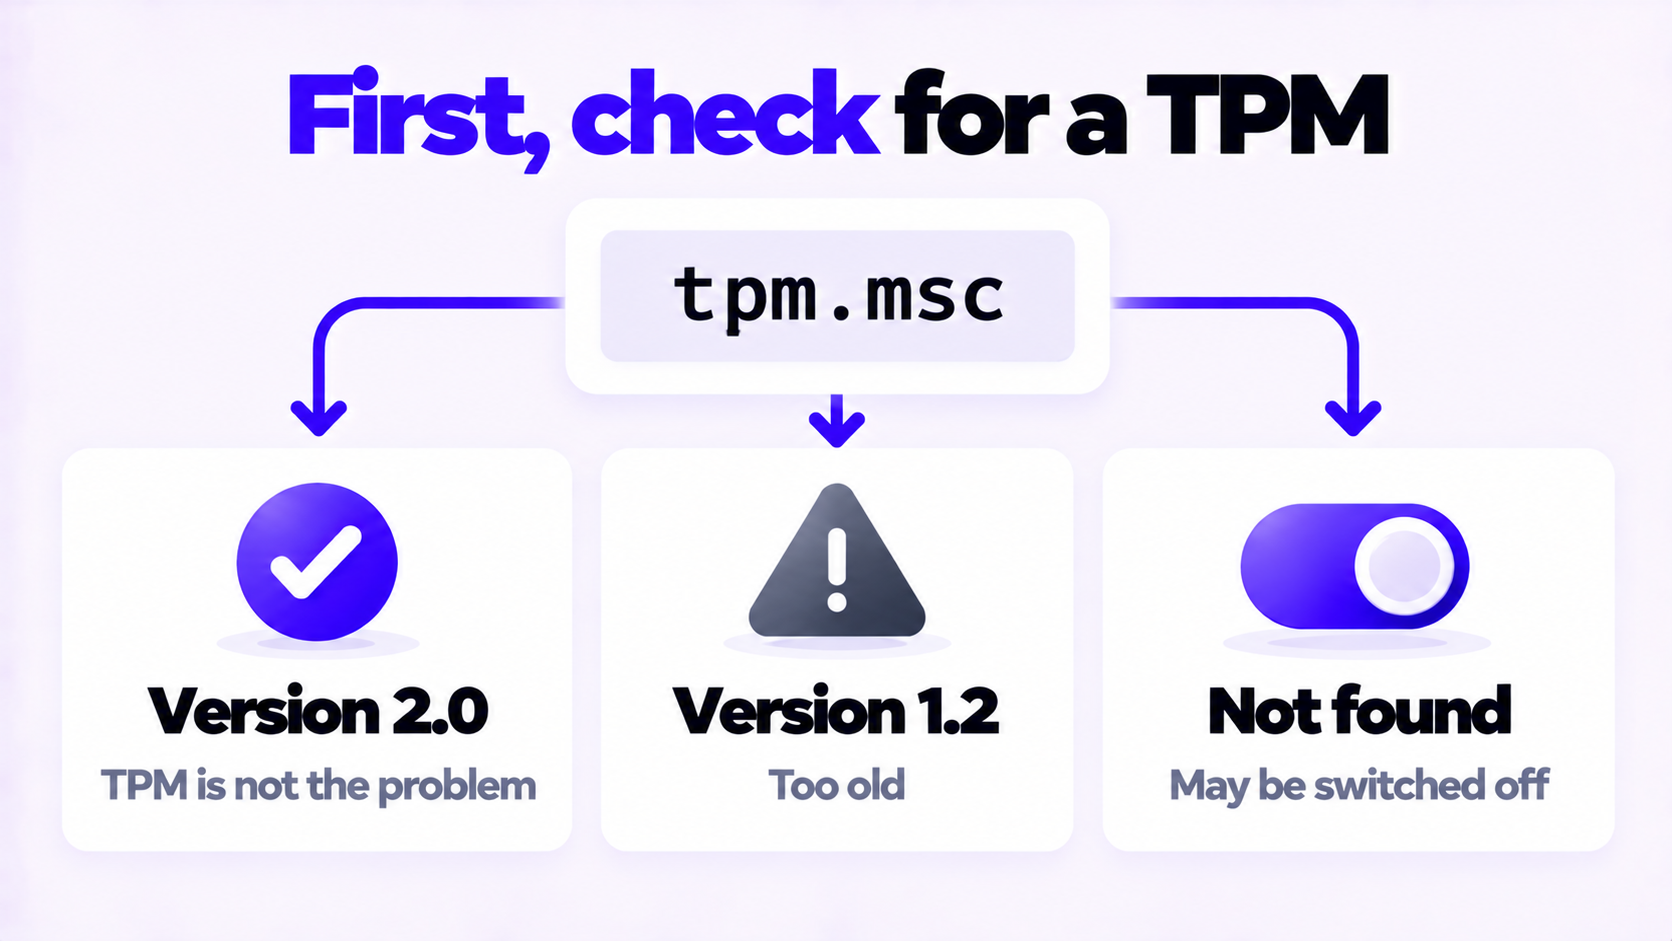
| “The TPM is ready for use” and Specification Version 2.0 | TPM 2.0 is present and on | TPM is not your problem. Run PC Health Check to see what else fails. |
| Specification Version 1.2 | An older TPM | Some PCs can be updated to 2.0 by the manufacturer. Otherwise it does not meet the requirement. |
| “Compatible TPM cannot be found” | No TPM, or one that is switched off | Look in the firmware settings, next section |
Turn TPM 2.0 on in the firmware settings
Since around 2016, most Intel and AMD processors have had a TPM 2.0 built in as firmware. Many motherboards shipped with it turned off. Turning it on takes five minutes and leaves the PC fully supported, so try this before anything else.
- In Windows 10, open Settings > Update & Security > Recovery and under Advanced startup select Restart now.
- Select Troubleshoot > Advanced options > UEFI Firmware Settings > Restart.
- Find the TPM setting. It is usually under a Security, Advanced or Trusted Computing menu, under one of these names:
- Intel PTT or Intel Platform Trust Technology
- AMD fTPM or AMD PSP fTPM
- Security Device Support or TPM State
- Set it to Enabled, save, and restart.
- Run
tpm.mscagain. It should now report version 2.0.
While you are there, check that Secure Boot is enabled too. It needs the firmware to be in UEFI mode, not Legacy or CSM.
If the PC has no such setting, or the processor is older than the Windows 11 supported list, it does not meet the requirements, and the rest of this page applies.
What Microsoft says about unsupported PCs
Microsoft’s position is in its support article, Installing Windows 11 on devices that don’t meet minimum system requirements. In its own words, doing so “isn’t recommended”. Setup shows a statement you have to accept, which says the PC “will no longer be supported and won’t be entitled to receive updates”, and that damage from lack of compatibility is not covered under the manufacturer warranty.
| What to expect | Detail |
|---|---|
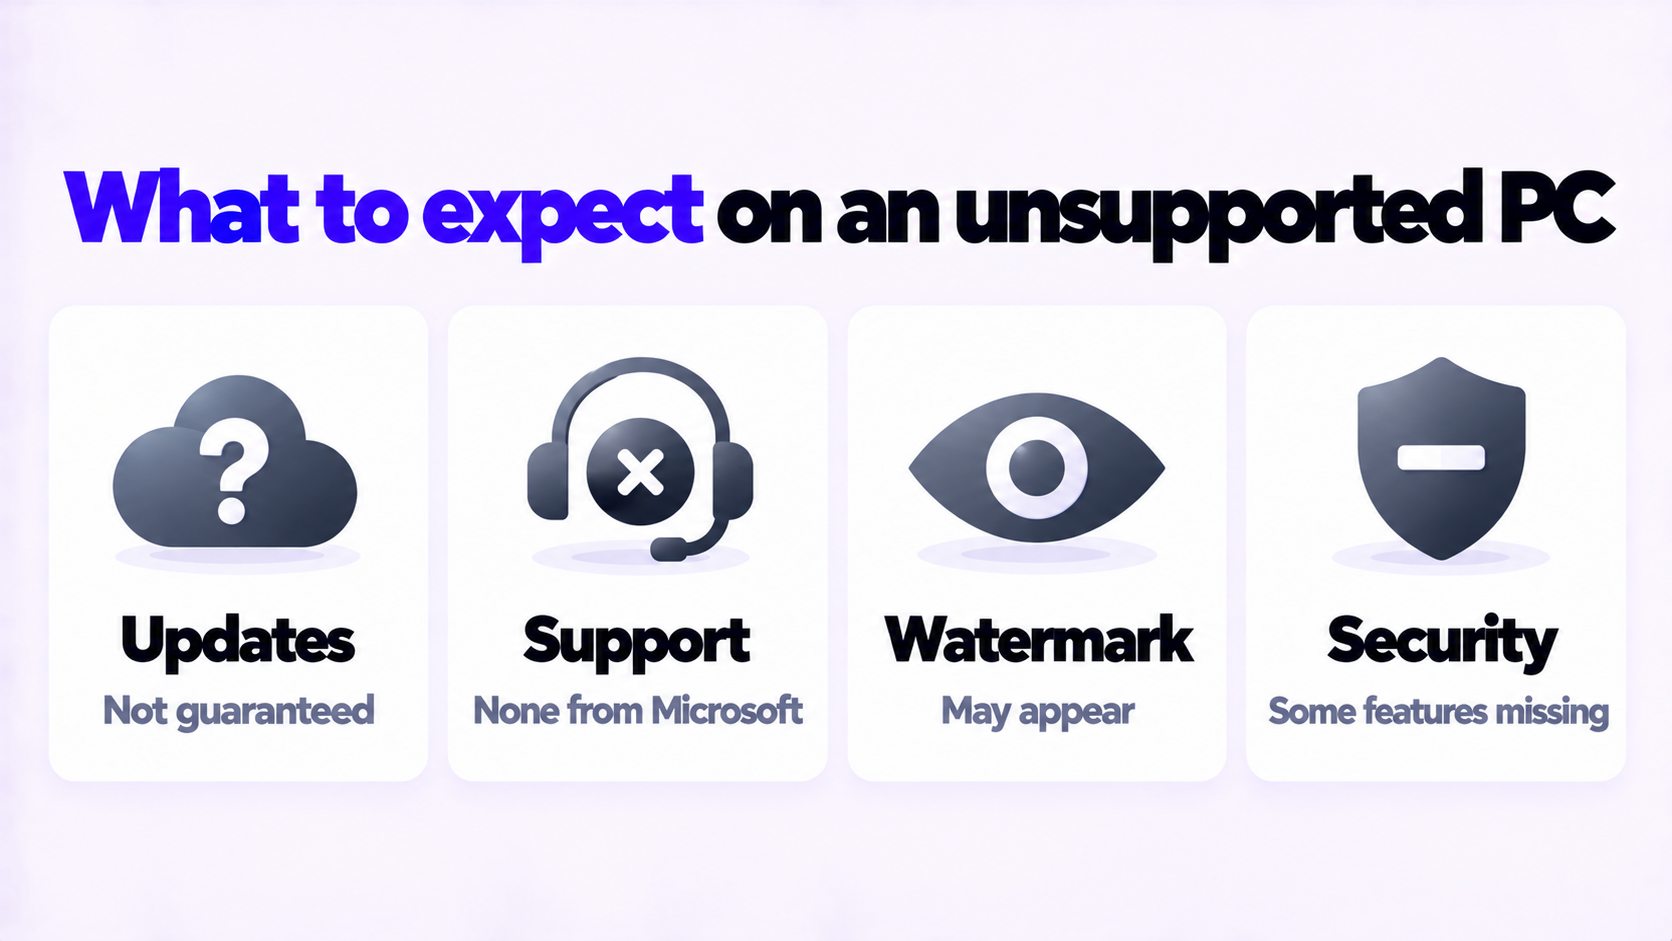
| Updates | Not guaranteed, including security updates. They have generally kept arriving, but Microsoft can stop them at any time. |
| Yearly feature updates | Usually not offered automatically. Expect to repeat the installation for each new version. |
| Support | None from Microsoft for that PC |
| Reminders | A desktop watermark and a notice in Settings may appear |
| Security features | Features that depend on a TPM, such as BitLocker with automatic unlock and Windows Hello key protection, are unavailable or weaker |
| Some games | Titles whose anti-cheat requires TPM 2.0 and Secure Boot will not start |
There is also a hard limit no method gets around. Windows 11 version 24H2 and later will not start on processors that lack the SSE4.2 and POPCNT instructions, which rules out most processors from before about 2009.
Method 1: Install Windows 11 without TPM 2.0 using Rufus
Rufus is a free, open-source tool for making bootable USB drives. When it writes a Windows 11 image, it offers to switch off the hardware checks. This is a clean installation and it erases the drive you install to, so back up your files first.
- Download the Windows 11 ISO from Microsoft’s Download Windows 11 page.
- Download Rufus from its official site, rufus.ie, and run it.
- Insert a USB drive of 8 GB or more. Everything on it will be deleted.
- Under Boot selection, choose the ISO, then select Start.
- In the dialog that appears, tick Remove requirement for 4GB+ RAM, Secure Boot and TPM 2.0, then select OK.
- Start the PC from the USB drive and go through Windows Setup as normal.
Method 2: Registry key during Windows Setup
This does the same thing by hand, using a standard Windows 11 USB made with Microsoft’s Media Creation Tool.
- Start the PC from the Windows 11 USB drive.
- When Setup shows “This PC can’t run Windows 11”, press Shift + F10 to open Command Prompt.
- Type
regeditand press Enter. - Go to
HKEY_LOCAL_MACHINE\SYSTEM\Setup. - Right-click Setup, select New > Key, and name it
LabConfig. - Inside
LabConfig, create two DWORD (32-bit) values,BypassTPMCheckandBypassSecureBootCheck, and set each to1. - Close Registry Editor and Command Prompt, go back one screen in Setup, and continue.
Older guides also describe deleting a file called appraiserres.dll from the installer. That stopped working with newer Windows 11 releases, so it is not listed here.
After installation
- Activation. If this PC had an activated copy of Windows 10, Windows 11 of the same edition normally activates by itself once online, and you do not need a new key. If it does not, see how to activate Windows 11 Pro with an OEM product key.
- Updates. Open Settings > Windows Update and check monthly. Do not assume updates are arriving.
- Backups. Keep a regular backup of your files. An unsupported PC is the one most likely to have trouble after an update.
- Going back. A clean installation has no Go back option. Returning to Windows 10 means reinstalling it.
When not to do this
| Your situation | Better choice |
|---|---|
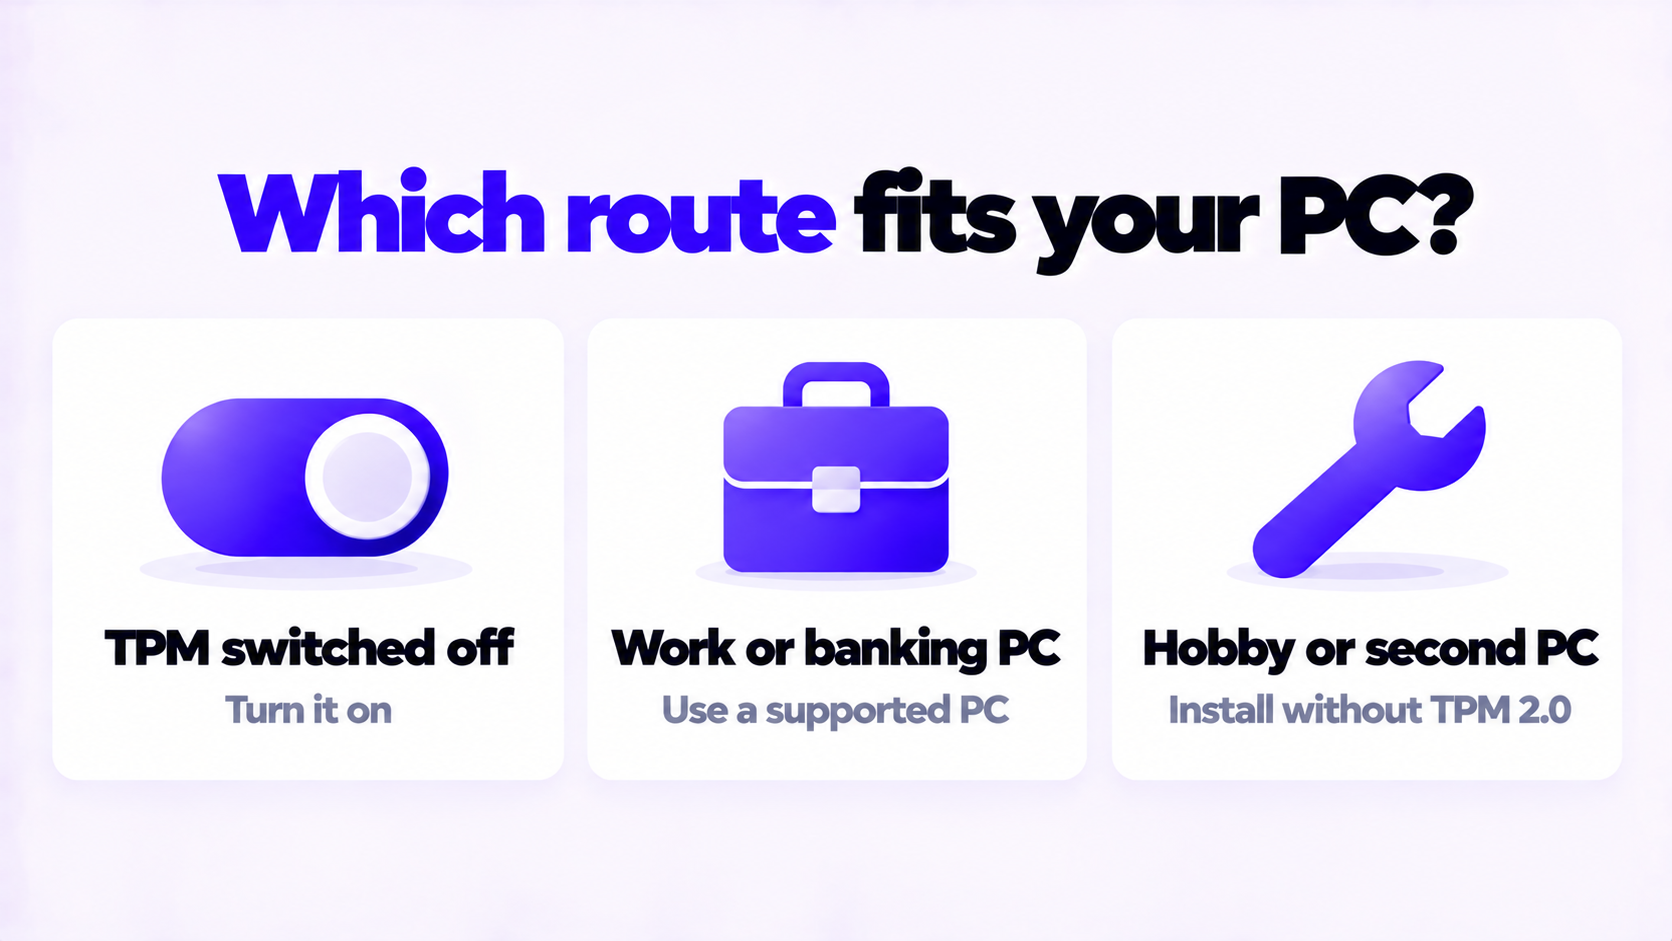
| The PC has a TPM that is switched off | Turn it on. You get a supported PC. |
| The PC is used for work, banking or anything sensitive | A supported PC. Uncertain security updates are the wrong risk to take. |
| You are setting it up for someone who will not maintain it | A supported PC, or a Linux desktop that is still updated |
| The processor is from before about 2009 | Current Windows 11 will not start. Use Linux or replace the PC. |
| A hobby or second PC you are happy to reinstall | This is the case the methods above suit |
For a PC that does meet the requirements, the supported route is in how to upgrade Windows 10 to Windows 11.
Need a Windows 11 Pro Key?
Only if Windows 11 does not activate by itself. One key for one PC.
Email Delivery in 1 to 12 Hours • 90-Day Money-Back Guarantee